There is no upgrade path for Windows Server 2012 (non-R2) HyperV role to Windows Server 2016 HyperV. The easiest way would be to setup a new Windows Server 2016 and activate HyperV. However, there may be reasons to perform an inplace upgrade. This is an experience report doing so
Prepare for the Upgrade
First make sure there are no virtual machine related files left on C: drive. Move the configuration files and especially the virtual hard disk files to another drive. I recommend to make list where the VHDX files are place. This can easily be done via PowerShell
Get-VM –VMName * | Select-Object VMid | Get-VHD | select Path | ft
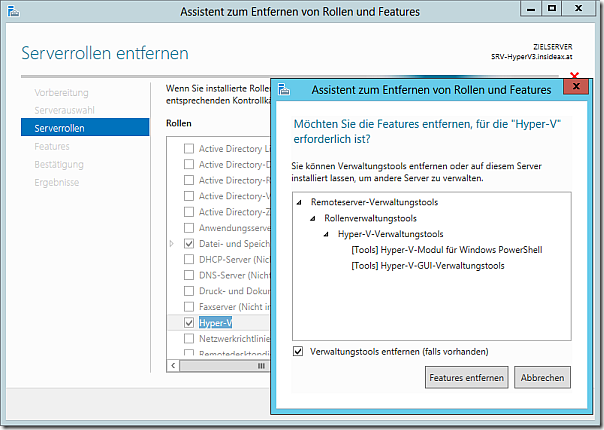
Next uninstall the HyperV role using the Server Manager. Simply select remove roles and features and select the HyperV role. This step requires a reboot and your server will come up a simple plain windows 2012 server.
After HyperV was uninstalled make sure to remove NIC teaming in case you are using this feature. I recommend to deactivate all but one network adapter. This can also be done using the Server Manager.
Perform Inplace Upgrade
Insert a disk or mount the Windows Server 2016 image. Start the upgrade process. When asked choose to keep all your data and apps. This will preserve your data and applications e.g. the RAID Manager software. The setup wizard warns you that an inplace upgrade is not the preferred way to setup server 2016. Accept and proceed. The upgrade will take a while and requires some reboots.
Setup HyperV on Server 2016
After the upgrade process has finished, its time to setup HyperV again. First configure the NIC teaming again. Activating the HyperV role in Server 2016 is almost the same as in Server 2012. This can be done by using the Server Manager installing new roles and features. Activating HyperV will require a reboot. After the reboot configure a virtual switch so your VMs can access the network again.
Import the Virtual Machines again
By default HyperV on Server 2012 has no clue about the VMs in former Server 2012. The virtual machines have to be imported manually. This can be done using the HyperV console. First, provide the folder where the virtual machine configuration is placed. Afterwards choose to directly register the VM.
Next provide the folder where the virtual hard disk files are placed. Don’t get confused because you don’t see the actual VHDX files in the selection dialog. The import wizard will check if the virtual hard disk named in the configuration file can be found in this folder. If the wizard can’t find the virtual hard disk file, take a look a the list of vhdx file paths generated by the PowerShell script.
When all the VMs are imported the upgrade is almost finished. The the network connection of the virtual machines and make sure they can access the network via the newly created virtual switch. Removing the virtual network adapter and adding the virtual network adapter again can help ![]() Perform some tests, maybe reboot the server again and install the latest updates.
Perform some tests, maybe reboot the server again and install the latest updates.


