This is a follow-up to my initial blog post how to extend the SalesTable2Line Framework from 2011. However, this post is a walkthrough how to update PurchLine fields from the PurchTable header.
Fields and Field Groups
Create an extended datatype called ERPCarrier which extends the Name datatype. Provide a label called Carrier.On the PurchLine create two new fields called ERPCarrierRequested and ERPCarrierConfirmed based on the datatype ERPCarrier. Provide two meaningful labels, Requested Carrier and Confirmed Carrier. Create a field group called ERPCarrier and add both fields to the group.
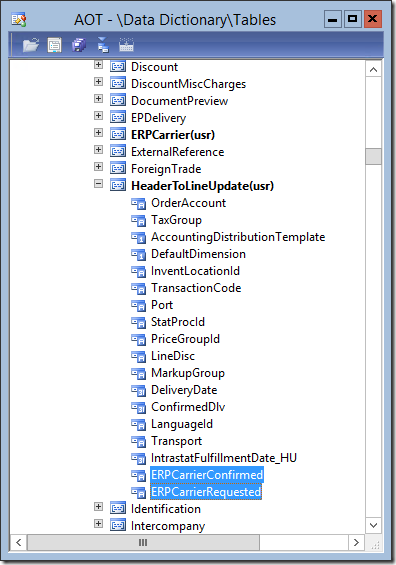
On the PurchTable add two new fields called ERPCarrierRequested and ERPCarrierConfirmed based on the datatype ERPCarrier. Provide the same labels as on the PurchLine. Create a field group called ERPCarrier and add both fields to the group. Moreover, add both fields to the field group HeaderToLineUpdate!
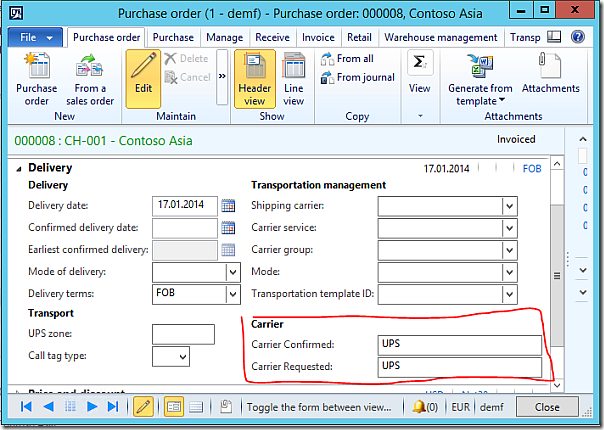
On the PurchTable form, add the PurchTable field group ERPCarrier in the header view in the group delivery.
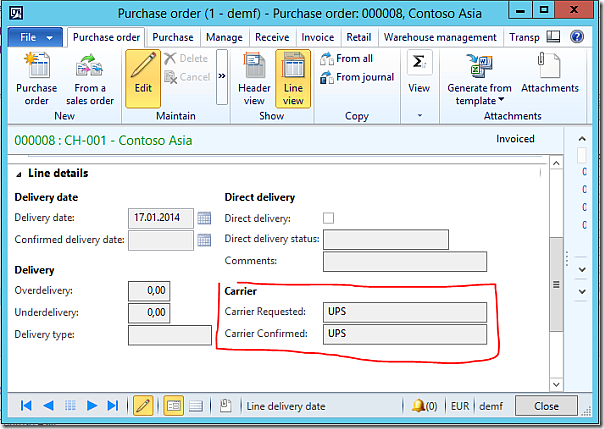
Add the PurchLine field group ERPCarrier in the line view in the tab delivery.
Code
On the AxPurchTable class add two parm Methods for the two new fields
public ERPCarrierId parmERPCarrierConfirmed(ERPCarrierId _carrierId = “)
{
if (!prmisDefault(_carrierId))
{
this.setField(fieldNum(PurchTable, ERPCarrierConfirmed), _carrierId);
}return purchTable.ERPCarrierConfirmed;
}
public ERPCarrierId parmERPCarrierRequested(ERPCarrierId _carrierId = “)
{
if (!prmisDefault(_carrierId))
{
this.setField(fieldNum(PurchTable, ERPCarrierRequested), _carrierId);
}return purchTable.ERPCarrierRequested;
}
On the AxPurchLine class add two parm methods for the two new fields
public ERPCarrierId parmERPCarrierConfirmed(ERPCarrierId _carrierId = “)
{
if (!prmisDefault(_carrierId))
{
this.setField(fieldNum(PurchTable, ERPCarrierConfirmed), _carrierId);
}return purchLine.ERPCarrierConfirmed;
}
public ERPCarrierId parmERPCarrierRequested(ERPCarrierId _carrierId = “)
{
if (!prmisDefault(_carrierId))
{
this.setField(fieldNum(PurchTable, ERPCarrierRequested), _carrierId);
}return purchLine.ERPCarrierRequested;
}
Next, on the AxPurchLine class add two set methods
protected void setERPCarrierConfirmed()
{
if (this.isMethodExecuted(funcName(),
fieldNum(PurchLine, ERPCarrierConfirmed)))
{
return;
}this.setAxPurchTableFields();
if (!this.parmERPCarrierConfirmed() &&
this.axPurchTable().parmERPCarrierConfirmed())
{
this.parmERPCarrierConfirmed(
this.axPurchTable().parmERPCarrierConfirmed());
}
}
protected void setERPCarrierRequested()
{
if (this.isMethodExecuted(funcName(),
fieldNum(PurchLine, ERPCarrierRequested)))
{
return;
}this.setAxPurchTableFields();
if (!this.parmERPCarrierRequested() &&
this.axPurchTable().parmERPCarrierRequested())
{
this.parmERPCarrierRequested(
this.axPurchTable().parmERPCarrierRequested());
}
}
On the AxPurchLine class add a new static method which is used to set the new fields.
public static void setTableFields_ERPCarrier(XppPrePostArgs _args)
{
AxPurchLine thisAxPurchLine = _args.getThis();
thisAxPurchLine.setERPCarrierRequested();
thisAxPurchLine.setERPCarrierConfirmed();
}
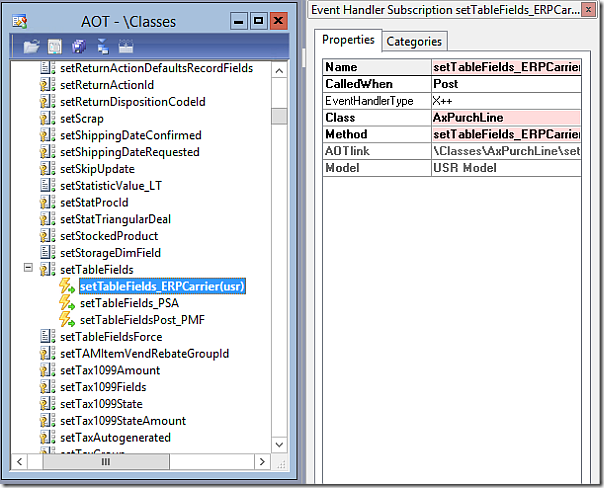
On the AxPurchLine class, go to the setTableFields method and expand the event handler. Add a new Post X++ event handler. Provide the AxPurchLine as class for the event handler and the newly created method setTableFields_ERPCarrier as event handler method.
On the PurchTable2LineField class, open the getFieldDescription method and scoll down. Add the following code to handle the two fields.
case fieldNum(PurchTable, ERPCarrierConfirmed):
description = fieldid2pname(tablenum(PurchLine),
fieldnum(PurchLine, ERPCarrierConfirmed));
break;case fieldNum(PurchTable, ERPCarrierRequested):
description = fieldid2pname(tablenum(PurchLine),
fieldnum(PurchLine, ERPCarrierRequested));
break;
Test
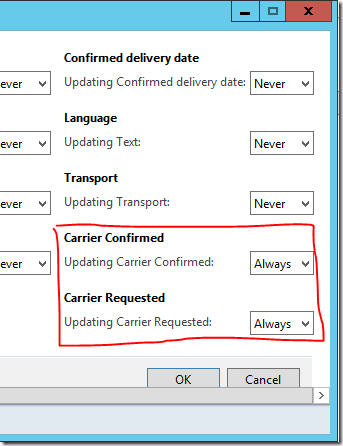
Compile your code an build incremental IL. Open the table PurchTable2LineParameters and delete all records. Restart the AOS to make sure no cached version is used. In AX go to Accounts Payable > Settings > Parameter > Tab Updates and click the button “Update order lines”. Set the Update Requested Carrier and Confirmed Carrier to Always.
Open a purchase order in AX and edit the purchase header. Provide a requested carrier e.g. UPS and a confirmed carrier e.g. DHL. Save your changes. Check if the values from the header have been copied to the purchase lines.
