Hi Folks,
As we know D365FO comes with a powerful architecture for all integration using DIXF. Data entities are the only way (in most of the cases) to communicate with D365FO through an external system.
In today’s post, I’m going to share a quick tip on how to set default fields to be made available while using Excel add-ins for CRUD operation. Yes, now you can use excel add-ins to perform all CRUD operation on a user interface. Let's take the example of customer master.
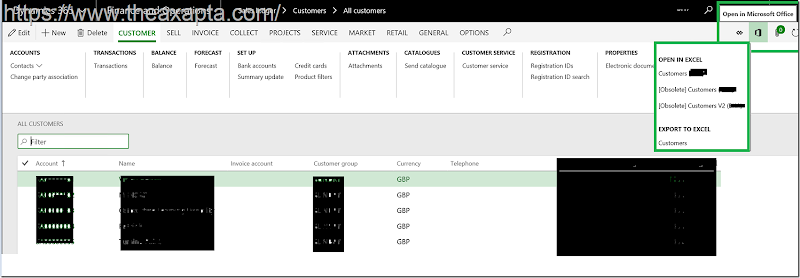
Below screenshot shows how to access excel add-ins on customer master. Go to Customer master and on right-hand side upper corner, you may found Office icon. Click on it and select
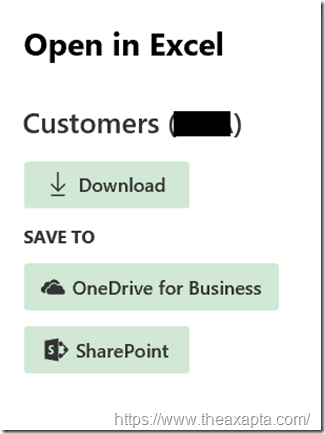
It will show you all the data entities which are available in the system based on customer (CustTable) as the main data source. Select the first one,
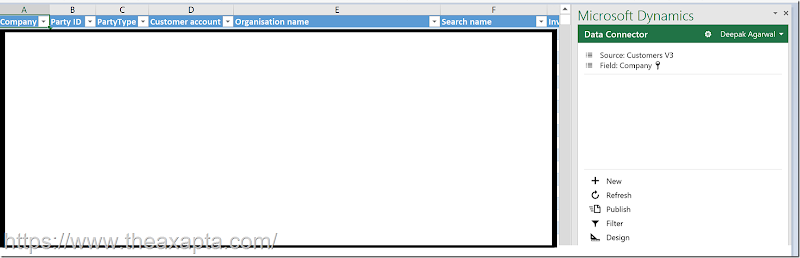
and it will open an excel sheet with Dynamics Add-ins. You might need to sign in using a valid user which have access to D365Fo application. Excel must look like below with a Dynamics add-ins in left.
You can perform all CRUD operation here and hit publish button on the left down side to publish your changes to the server. That’s it.
Now coming to the title of this post, (it's not too late ) if you want to make any changes on these fields, like remove and add new or want to change the order, here is the trick.
Go to visual studio, open the data entity (in this case you need to create an extension of this entity). Go to field group > AutoReport. Here you must get all field which is showing on excel. You can do addition, delete, change the order of fields and that’s it. Once successful build changes will reflect when you use excel add-ins next time.
Cheers,
Harry
 It will show you all the data entities which are available in the system based on customer (CustTable) as the main data source. Select the first one,
 and it will open an excel sheet with Dynamics Add-ins. You might need to sign in using a valid user which have access to D365Fo application. Excel must look like below with a Dynamics add-ins in left.
 You can perform all CRUD operation here and hit publish button on the left down side to publish your changes to the server. That’s it.
Now coming to the title of this post, (it's not too late ) if you want to make any changes on these fields, like remove and add new or want to change the order, here is the trick.
Go to visual studio, open the data entity (in this case you need to create an extension of this entity). Go to field group > AutoReport. Here you must get all field which is showing on excel. You can do addition, delete, change the order of fields and that’s it. Once successful build changes will reflect when you use excel add-ins next time.
Cheers,
Harry
You can perform all CRUD operation here and hit publish button on the left down side to publish your changes to the server. That’s it.
Now coming to the title of this post, (it's not too late ) if you want to make any changes on these fields, like remove and add new or want to change the order, here is the trick.
Go to visual studio, open the data entity (in this case you need to create an extension of this entity). Go to field group > AutoReport. Here you must get all field which is showing on excel. You can do addition, delete, change the order of fields and that’s it. Once successful build changes will reflect when you use excel add-ins next time.
Cheers,
Harry