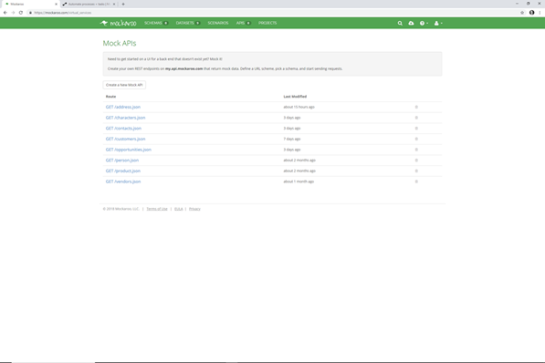
Mockaroo is a great tool for creating dummy data for our demonstrations, because we can call it form Flow and then integrate it into some very cool examples. But if we want to make it look even simpler, we can create a custom connector in Flow that we can use to surface the Mockaroo API’s as if they are native connections.This allows us to register the returned fields and use them in other flow steps without having to manipulate the data manually, or having to remember the connection information for the Mockaroo API’s.If you want to see how this is done then here is everything that you need to knowIntroductionI have a number of API’s that are defined in Mockaroo that I use to create random sample data.
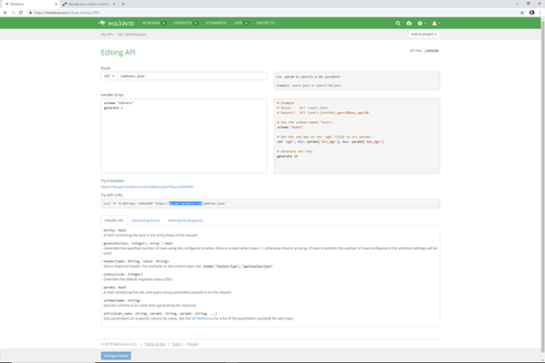
If we drill into any of the API’s then we can see the URL that we can call to create the demo data.
How to do it…
To create a new connector, click on the settings icon in the menu bar and click on the Custom Connectors menu item.
This will open up the list of all of the customer connectors that we have created.
To create a new connector, click on the + Create custom connector link and then select the Create from blank option.
This will open up a dialog box to start creating the Custom connector.
We just need to enter in a Custom connector name and then click on the Continue button.
This will open up the connector setup form on the first configuration step.
If we want, we can add a custom icon for the connector by clicking on the Upload link under the link and select the icon for the connector.
Now we have a nice and snazzy icon for our connector.
Next we will want to specify the Icon background color that matches the background of the icon.
And then we will want to add a Description for the connector.
Now return back to the Mockaroo API page and find the base URL for the API URL.For this example the base URL for the API is my.api.mockaroo.com.
Now we will want to paste the URL that we got from the Mockaroo API into the Host field and then click on the Security link.
That will take us to the Security step. Right now it’s set to No authentication which is OK for the Mockaroo API so we can click on the Definition link to move to the next step.
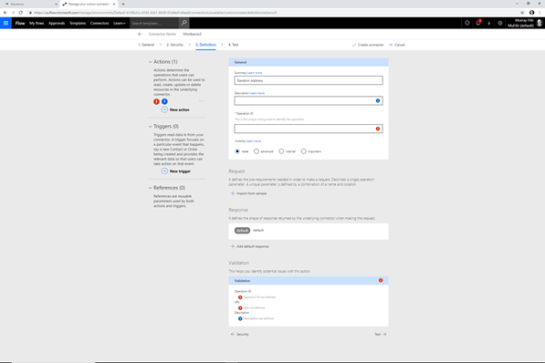
This will take us to the Definition page where we will need to set up the Actions that will be linked back to the Mockaroo API’s. To do this just click on the New Action link.
This will take use to the action configuration page.
Start off by giving the new Action a Summary.
Then add a Description for the action.
Then enter in an Operation ID that you will reference the action with.
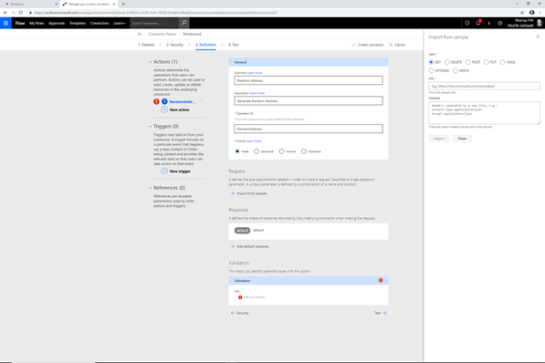
Next we will need to specify the format of the Request section of the connector action. The good thing is that we can get Flow to do most of the work by clicking on the + Import from sample link which will open up a panel for us.
Return back to the Mockaroo API page and copy the URL for the API.
Then paste the entire URL into the URL field and then click on the Import button.
This will build the Request section of the action for us.
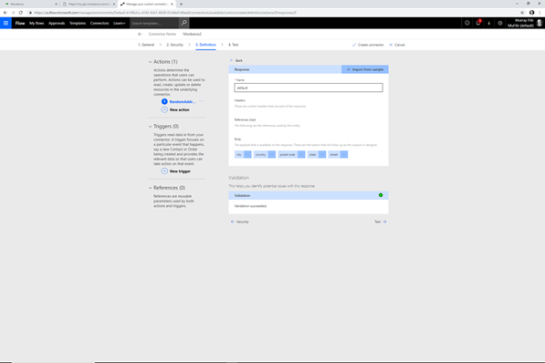
Now scroll down to the Response section. This will be used to define what fields are returned back by the action. There is a default response that is generated with the connector but we will want to update that. So click on the default bubble.
This will open up an Import from sample panel that we can use to create out response variables.
Return to Mockaroo API and click on the URL to get the sample data to be generated. Then copy all of the body of the HTML that is returned.
Now paste the JSON data into the Body field and click on the Import button.
That will return you back to the Definition page. It doesn’t look like anything has happened, but click on the default button again.
That will open up the detail of the body and we can see that there are fields that are being returned that match the fields that were returned by the Mockaroo API.Before we continue on, click on the Create connector link in the header of the page.
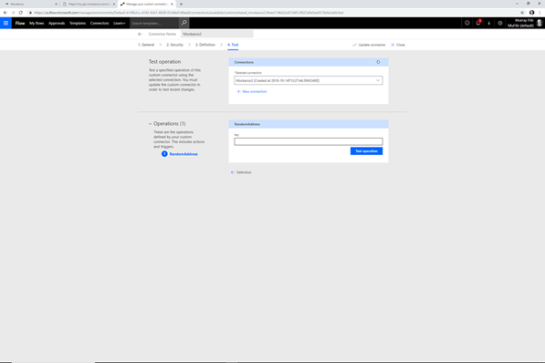
Now we can test the connector from the Test page. Start off by clicking on the + New connection button.
This will register a connection for us that is liked back to the Mockaroo API.There is one last thing that we need to do and that is to specify the API key for the Mockaroo API.
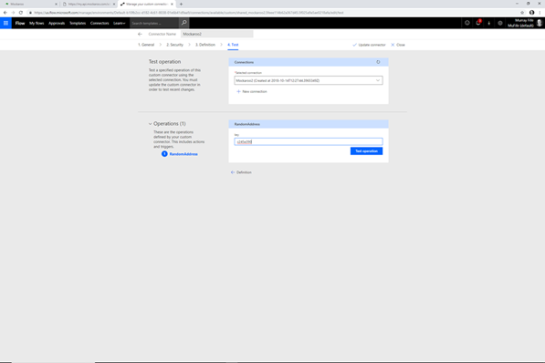
Return back to the Mockaroo API and select the end of the URL which will be the API Key.
Then paste it into the key field.All we need to do now is click on the Test operation button.
Oh no Mr Bill. It looks like it isn’t working.Don’t worry – we think that there is a lag in the registration of the API with the Azure service. Wait a couple of minutes and try again.
Now when we click on the Test operation it will return back data.
How it works…
Now we can see the new custom connector in action. Start off by going into Flow and clicking on + Create from blank.
Then click on the Create from blank link again on the next page.
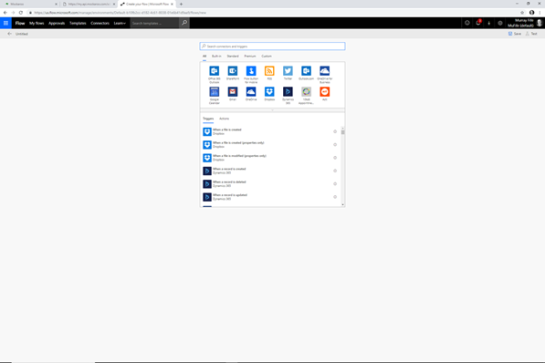
When the Trigger selector is displayed, select the Flow button for mobile to create a simple trigger.
Then click on the Manually trigger a flow trigger.
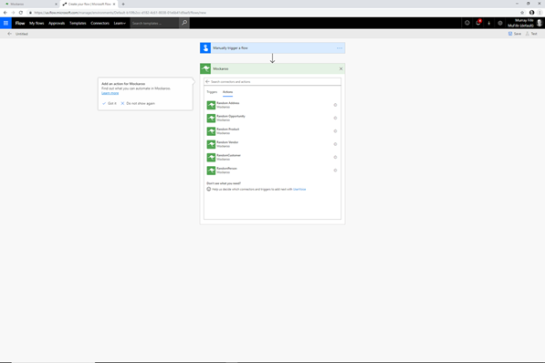
This will add a manual trigger for us.Now click on the + New step button.
When the Choose an action browser is displayed, we can search for our custom connector and see all of the actions that we have published.For this example we will select the Random address action.
This will open up the action and we will see that we need to specify a key again.
Just paste in the same API Key that we used when we were testing the connector.
Now that we have our random address we can use the data from Mockaroo in the next step. Click on + New step and then select the Bing maps connector and then the Get location from address action.
This will create an action which is looking for some address information.
If we click on the Address line field then we will see the Content browser and we will also see each of the fields that are being returned back from the Mockaroo API.
We can add the respective address fields into the Bing action.
Before we finish, we can give the Flow a better and more descriptive name, save it, and then click on the Test button.
Since this is the first time that we are going to run through the test we need to select the I’ll perform the trigger action and then click on the Save & Test button.
When the Run flow dialog is displayed, click on the Continue button.
Then click on the Run flow button.
When the Flow is kicked off, click on the Done button.
And we will see that the Flow runs and that the random address information from Mockaroo is part of the flow.
Extra credit…
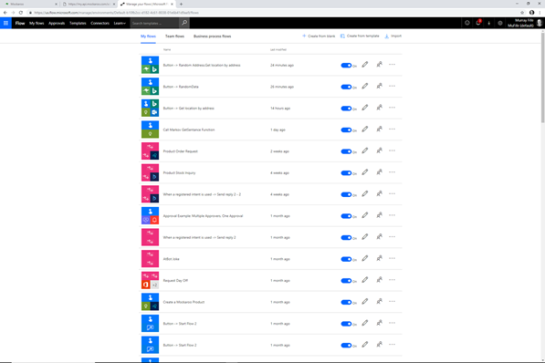
If we want to add more API’s to the connector then we just repeat the process for each of the API’s in Mockaroo that we want to surface in Flow.
And then all of the actions will show up as we browse for the new custom connector in the Actions browser.
Summary
How cool is that. Although we could have connected to Mockaroo in Flow using the HTTP connector, this is so much easier and we bypass a number of additional parsing steps when the call to Mockaroo is made.